Whole Turkey Sous-Vide Tutorial

 (OP-2015) Why in the world would I attempt to, let alone need to Sous-Vide a Whole Turkey? Several reasons! I've Sous-Vide-Processed many many Turkeys (Broken Down, of course) over the years, and I have always been elated. And of course, my guests have always given me praise.
I first heard about the Sous-Vide-Process of a Whole Turkey from Dina Luttrell Rudesheim in one of our FB Groups. She did one of these back in Nov of 2017, but I was unaware this was a thing until about Nov 2018.

 I started doing some research and scoured the internet for tips, ideas, and suggestions (I found stuff dating back to 2014). Yea, that was a waste of time. Not to sound too abrasive, judgemental, or callous, but everything I read qualified as fails to me. When I say fails, I mean total failures!!!!! Almost laughable fails. I'm not going mention any names or sites, but there are several popular ones out there that offer lousy instructions and IMO unsafe guidelines to Sous-Vide a Whole Turkey. There's this one Vid out there in which they stuffed a 20lb bird with sausage stuffing (they admitted it was a fail) and attempted to Sous-Vide. What would make anyone think you could stuff a Whole Turkey (a 20lb one too) with Cold stuffing and think you could get through the danger zone and produce something safe to eat. Even the attempt was misguided from the start, and if you ask me, the perpetrators lost credibility. The other mistake people are making is using cold stock. I'll discuss this in more detail later on.
 Most people Sous-Vide Whole Turkeys in Brining Bags. Not all brining bags are created equal. Look for bags that can tolerate heat. They are labeled for brining and baking.
I chose a Turkey that would easily fit into my 16-inch Vac Bag. I own a Food Saver Titanium which can handle 16-inch bags. This last Thanksgiving, I bought a lot of Turkeys and figured out I could vac seal up to a 16lb Turkey. This Turkey weighed in at 15.20lbs.

Here's the $64,000 question...Other than what I outlined above, why am I doing this? First, to prove that it can be done safely and secondly for aesthetics.


As most of you know, I am a big fan of Dry-Brining meats, and Turkey is no different. Some like Wet-Brines, but Dry-Brines are superior for many reasons. Dry-Brining does not dilute the flavor of Turkey, better penetration, and better moisture retention during the cook. Anyhow sprinkle some salt all over Turkey (inside and out) and shove in the refrigerator for 24-hours. I used a brining bag because I had one for the overnight stay.


Let's talk about safety and stock. While searching the net, the common theme was to pour cold or room temp chicken stock (store-bought normally) into the center of the cavity of Turkey. Yea, I'm not going to do that. That seems very lazy to me (unsafe too.. needs to be 170f). I made a low sodium-rich Turkey stock. It's not that hard, so why not do it the right way!! One last note: If you cannot make your own Turkey-Stock, you can use lightly salted water or veggie broth. If you use water, you could kick it up a bit and add herbs, spices, etc. I would make a veggie broth. You might be tempted to add veggies to the cavity, but at SV temps, it's unlikely they would cook or soften.
 Let's discuss safety!! Sous-Viding a Whole Turkey presents some apparent obstacles. These obstacles were lost on the masses if you ask me. Successful, Whole Turkey (or chicken) Sous-Vide depends on several factors that need to be followed. A minimum amount of air inside the bag or filled with water or broth to assure efficient transference of thermal energy. Since we cannot Vac Seal a whole Turkey and eliminate all the air, we need to fill up the cavity with a liquid. Obviously, filling the bird up with liquid eliminates all the air, but, there are still additional issues. The one problem that stands out to me and is quite glaring is the lack of fluid circulation. Even though there is fluid inside the bird's cavity, it's not circulating other than convection.

I don't have any testing equipment, but what I do have is common sense and experience. Let's talk about thermal energy and the transference of heat. The most egregious technique or culinary blunder is adding cold (even room temp is wrong) stock to the cavity of the bird. So let's think about this for a second. How long do you think it would take for the stock inside the bird to reach an equilibrium temp with the circulating water? Yea, I have no idea either, but what I can tell you that it is unlikely you will get through the danger zone anytime soon.
 As you all know, SV cooks from the outside in which means it's unlikely that the liquid inside the cavity will reach a safe temp within 4-hours, which means extended time in the danger zone. This creates a favorable environment for bacteria to thrive. If you read through most recipes, they always SV for 24-hours. I presume to ensure pasteurization?? I can only guess, but I bet it takes at least 8-hours for the center of the cavity to reach a safe temp, which exceeds the 4-hour safe window. The 4-hour window is not black and white, and there are other variables to consider. The 4-hour window is a whole different topic and requires its own post. In any case, this is hypothetical because I don't know your starting temp.

 Mitigation
How do we address those issues outlined above? First, we make sure that the cavity filled to the top with stoc,k and properly vac sealed (or use the displacement technique). The stock should be heated to 170f, and the starting temp of the IC water bath should also be 170f. These two temps combined ensure even efficient transference of thermal energy, even cooking, kills all surface bacteria inside and out, and eliminates safety concerns. Note: 165f instantly kills surface bacteria.

 Anyhow, after you submerge Turkey into the water bath, hold the temp 170f for about 5 minutes, then lower it to 149f and cook for 12-hours. I chose 12-hours because, in my experience, that will be adequate. In my previous recipes, I have never cooked Turkey beyond 8-hours. I added the extra 4-hours because I am dealing with a whole Turkey. Note: In reality, this is a poached Turkey, but because of SV, it's precise.

 How did I vac seal? I used 16-inch bags (FoodSaver Titanium). The bags were tripled sealed. The open end extended about 14-inches beyond the Turkey. Turkey was placed inside the bag with the neck at the bottom. I set the bag now containing the Turkey inside a container (just large enough to fit Turkey) and poured the 170f temp stock into the bag. I used gravity to my advantage. I placed the container on a chair vertically below the vac machine and started sealing. As the bag began to compress and the stock made its way up the bag, I sealed. The machine may have sucked in a tablespoon of stock. My machine has a dual seal, so this was very helpful. I sealed the ends multiple times. I folded the excess bag up and placed it up into another bag. All sealed with no air pockets.


Size does matter. Although I had containers that could fit the Turkey, I decided on my 40-quart stockpot. I used my stove to bring water up to 170f. The stockpot was covered with plastic wrap to avoid the evaporation of water.

After the 12-hours, I placed the Turkey into another container containing a vast amount of ice. I always have on hand large chunks of ice. I freeze large chunks of ice using containers varying in size from 1-quart up to 8 -quarts.

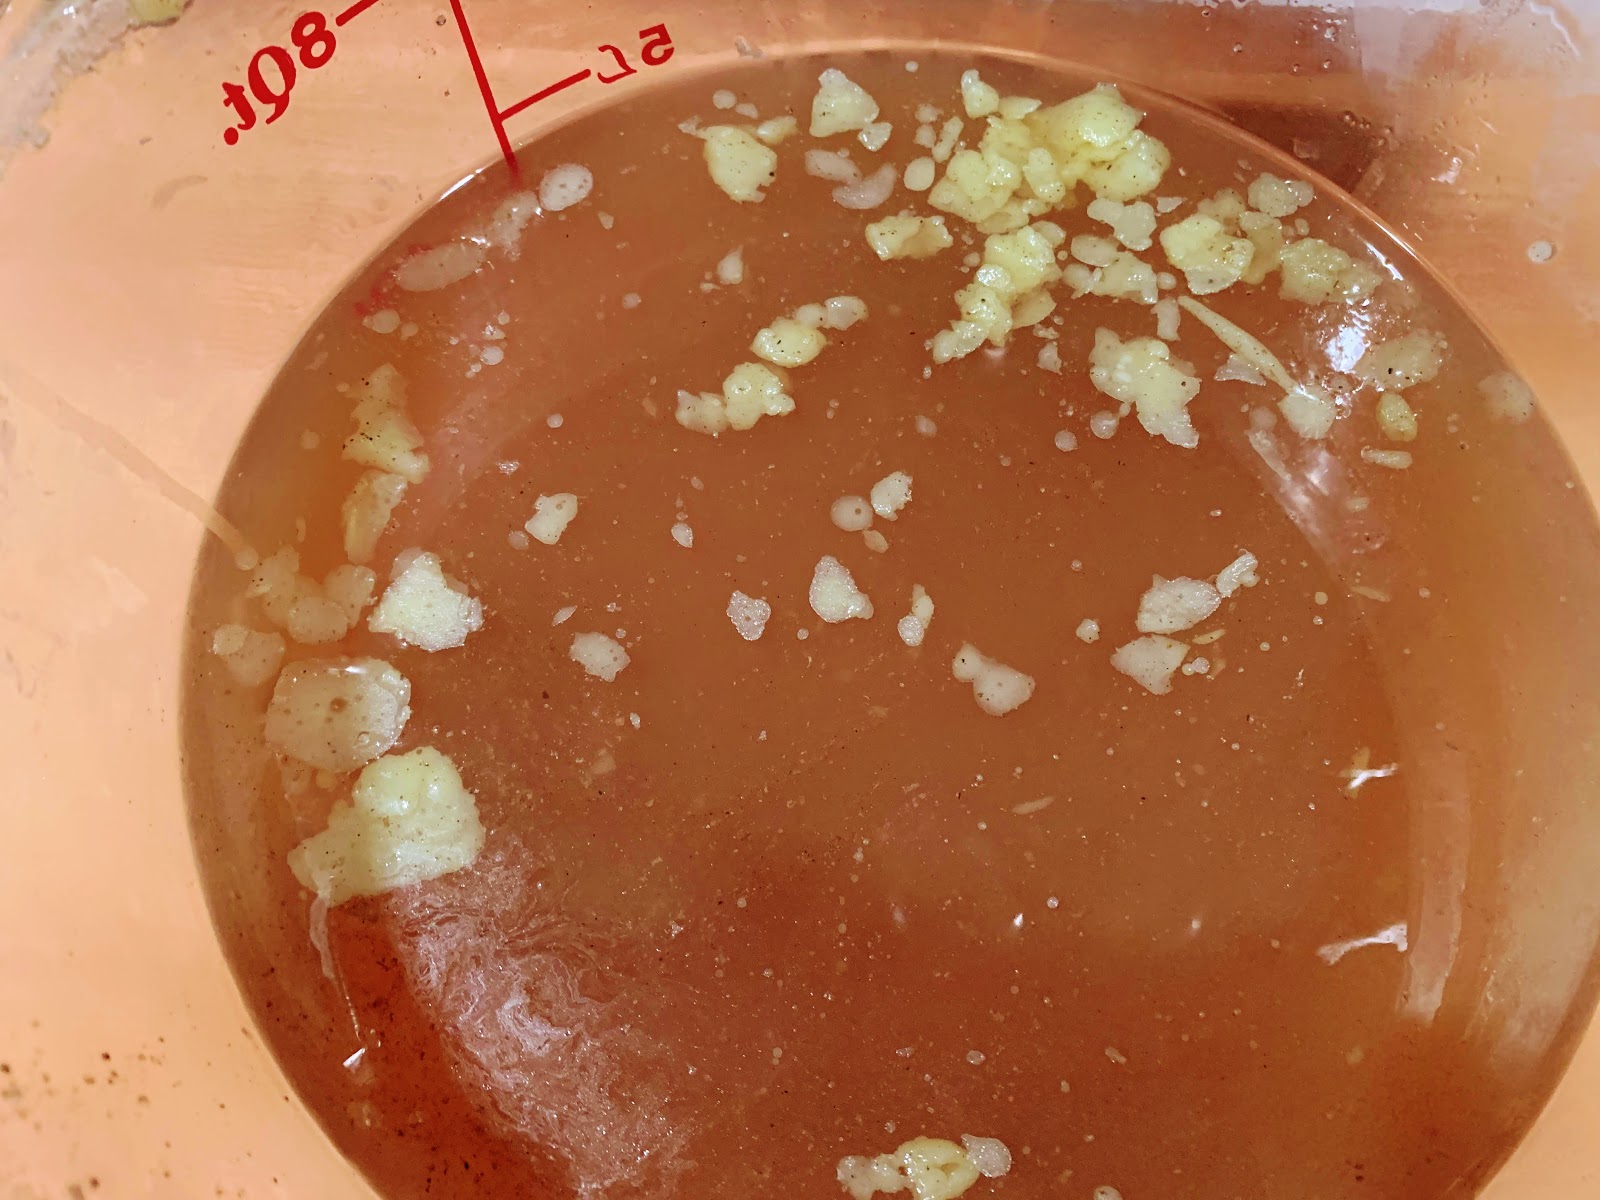
After the Ice-Bath, I placed in the refrigerator for a few days. If you are familiar with my writing and posts, I rarely finish (Finish= Browning or Searing) after Sous-Vide-Processing. I think there are significant advantages to Shocking and finishing at a later time. Anyhow, I used a huge bowl and dumped out the purge before proceeding.

 Turkey was patted down with some paper towels, and I took some cool pictures.
Note: Skin tender and will be prone to tearing, so be extra delicate while handling.

I've always had great luck using vertical roasters, provided you follow some basic culinary 101 techniques. Vertical roasters are fantastic for even browning and heating.
As we all know, wet protein does not brown up all that well, so I place two small fans around the Turkey to dry the surface.

I always use some topical coating on all my proteins after the Sous-Vide-Process because it facilitates browning. This sauce was an out of the box brainchild. "What the heck this should be good" Of course, I tasted the concoction as I was making. I used a stick of butter, enough mayo to thicken liken to a milkshake, Poultry seasoning, pepper, etc. to darken just a bit I used Kitchen Bouquet Browning and seasoning sauce.

The sauce was applied with a culinary brush. What was left of the sauce was dumped into the cavity from the top. I continued to use the fans to dry the surface.


Time to conquer the cold and set up my smoker. It was 28f degrees outside, and I was slightly concerned about hold temperature on the smoker.

 Setting up the smoker can be a pain in the ASS. I'm blessed that I don't get cold, so this did not impact my setup. This smoker was customized so for very long cooks. In the summer, I can get a 22-hour smoke with my BBQ guru attached. I have several other goodies with this smoker that will allow me to smoke 12 chickens. I had to use a lot of Charcoal because of the temps outside.


I was able to hold 225f with ease.


This is about an hour plus into the smoking process. I stuck a temp probe into the thigh. In hindsight, I should have used two thermometers. One for the breast and one for the thigh. But dang doesn't that look awesome!
Shooting for 152F...

I hit 152f in 2 hours and 50 minutes.
This was not hard to do, but it took some planning and finesse. At about 2 hours, I notice the top getting darker than the sides and bottom, so I placed some tinfoil at the top draped over the back and breast. I held 225f for precisely 2 hours or so. I slowly cranked up the temp to almost 270f to crisp up the skin. Ok, so at what point did I decide to crank up the temp? This is the finesse part. At approximately 142f (internal temp) degrees, I started to adjust vents to increase the temp of the smoker.
So let's talk for a moment how I pulled this off. If you follow my guidelines prior to the finish, you should have something perfect. My finish meaning my choice for a sear is wrapped up in my experience. You might choose a different finish so your results may not be the same.
Review- Absolutely perfect in every way. The meat was moist, tender, and the skin was crispy. The fat layer underneath nicely melted away and resulting in crisp skin. Was it a lot of work? Yes, one could say that. Was it worth doing? Of course, it was. Thinking outside the box and hitting a grand slam is very rewarding.
Note: As an afterthought, it became clear to me that is was more of a demonstration than a Tutorial. It might be semantics, but I wish I had a video to show you specifics. I am hoping that I gave enough info for you to replicate. The Sous-Vide-Process of a Whole Turkey is not for the faint of heart. If placing a whole turkey down on the table is essential to you as well as aesthetics, then this post will certainly help. Please tag me or contact me if you have any questions.


TOP OF THE TURKEY......

 I started doing some research and scoured the internet for tips, ideas, and suggestions (I found stuff dating back to 2014). Yea, that was a waste of time. Not to sound too abrasive, judgemental, or callous, but everything I read qualified as fails to me. When I say fails, I mean total failures!!!!! Almost laughable fails. I'm not going mention any names or sites, but there are several popular ones out there that offer lousy instructions and IMO unsafe guidelines to Sous-Vide a Whole Turkey. There's this one Vid out there in which they stuffed a 20lb bird with sausage stuffing (they admitted it was a fail) and attempted to Sous-Vide. What would make anyone think you could stuff a Whole Turkey (a 20lb one too) with Cold stuffing and think you could get through the danger zone and produce something safe to eat. Even the attempt was misguided from the start, and if you ask me, the perpetrators lost credibility. The other mistake people are making is using cold stock. I'll discuss this in more detail later on.
I chose a Turkey that would easily fit into my 16-inch Vac Bag. I own a Food Saver Titanium which can handle 16-inch bags. This last Thanksgiving, I bought a lot of Turkeys and figured out I could vac seal up to a 16lb Turkey. This Turkey weighed in at 15.20lbs.

Here's the $64,000 question...Other than what I outlined above, why am I doing this? First, to prove that it can be done safely and secondly for aesthetics.

When you think of Thanksgiving, are you nostalgic? Do you think of Norman Rockwell? Is Thanksgiving tied to some childhood romanticism that you wished you had maybe had? Suffice it to say most of us did not have a Norman Rockwell Thanksgiving, but that being said, at least for me when I think of Turkey Day, I visualize nostalgic traditions. I think it's still cool to place a whole of Turkey on the table. Call me a corny, call me crazy but don't call me late for dinner.

As most of you know, I am a big fan of Dry-Brining meats, and Turkey is no different. Some like Wet-Brines, but Dry-Brines are superior for many reasons. Dry-Brining does not dilute the flavor of Turkey, better penetration, and better moisture retention during the cook. Anyhow sprinkle some salt all over Turkey (inside and out) and shove in the refrigerator for 24-hours. I used a brining bag because I had one for the overnight stay.

Let's talk about safety and stock. While searching the net, the common theme was to pour cold or room temp chicken stock (store-bought normally) into the center of the cavity of Turkey. Yea, I'm not going to do that. That seems very lazy to me (unsafe too.. needs to be 170f). I made a low sodium-rich Turkey stock. It's not that hard, so why not do it the right way!! One last note: If you cannot make your own Turkey-Stock, you can use lightly salted water or veggie broth. If you use water, you could kick it up a bit and add herbs, spices, etc. I would make a veggie broth. You might be tempted to add veggies to the cavity, but at SV temps, it's unlikely they would cook or soften.


 Mitigation
 How do we address those issues outlined above? First, we make sure that the cavity filled to the top with stoc,k and properly vac sealed (or use the displacement technique). The stock should be heated to 170f, and the starting temp of the IC water bath should also be 170f. These two temps combined ensure even efficient transference of thermal energy, even cooking, kills all surface bacteria inside and out, and eliminates safety concerns. Note: 165f instantly kills surface bacteria.

 Anyhow, after you submerge Turkey into the water bath, hold the temp 170f for about 5 minutes, then lower it to 149f and cook for 12-hours. I chose 12-hours because, in my experience, that will be adequate. In my previous recipes, I have never cooked Turkey beyond 8-hours. I added the extra 4-hours because I am dealing with a whole Turkey. Note: In reality, this is a poached Turkey, but because of SV, it's precise.
 How did I vac seal? I used 16-inch bags (FoodSaver Titanium). The bags were tripled sealed. The open end extended about 14-inches beyond the Turkey. Turkey was placed inside the bag with the neck at the bottom. I set the bag now containing the Turkey inside a container (just large enough to fit Turkey) and poured the 170f temp stock into the bag. I used gravity to my advantage. I placed the container on a chair vertically below the vac machine and started sealing. As the bag began to compress and the stock made its way up the bag, I sealed. The machine may have sucked in a tablespoon of stock. My machine has a dual seal, so this was very helpful. I sealed the ends multiple times. I folded the excess bag up and placed it up into another bag. All sealed with no air pockets.

Size does matter. Although I had containers that could fit the Turkey, I decided on my 40-quart stockpot. I used my stove to bring water up to 170f. The stockpot was covered with plastic wrap to avoid the evaporation of water.

After the 12-hours, I placed the Turkey into another container containing a vast amount of ice. I always have on hand large chunks of ice. I freeze large chunks of ice using containers varying in size from 1-quart up to 8 -quarts.


 Turkey was patted down with some paper towels, and I took some cool pictures.
Note: Skin tender and will be prone to tearing, so be extra delicate while handling.

I've always had great luck using vertical roasters, provided you follow some basic culinary 101 techniques. Vertical roasters are fantastic for even browning and heating.
As we all know, wet protein does not brown up all that well, so I place two small fans around the Turkey to dry the surface.

I always use some topical coating on all my proteins after the Sous-Vide-Process because it facilitates browning. This sauce was an out of the box brainchild. "What the heck this should be good" Of course, I tasted the concoction as I was making. I used a stick of butter, enough mayo to thicken liken to a milkshake, Poultry seasoning, pepper, etc. to darken just a bit I used Kitchen Bouquet Browning and seasoning sauce.

The sauce was applied with a culinary brush. What was left of the sauce was dumped into the cavity from the top. I continued to use the fans to dry the surface.


Time to conquer the cold and set up my smoker. It was 28f degrees outside, and I was slightly concerned about hold temperature on the smoker.

 Setting up the smoker can be a pain in the ASS. I'm blessed that I don't get cold, so this did not impact my setup. This smoker was customized so for very long cooks. In the summer, I can get a 22-hour smoke with my BBQ guru attached. I have several other goodies with this smoker that will allow me to smoke 12 chickens. I had to use a lot of Charcoal because of the temps outside.

I was able to hold 225f with ease.


This is about an hour plus into the smoking process. I stuck a temp probe into the thigh. In hindsight, I should have used two thermometers. One for the breast and one for the thigh. But dang doesn't that look awesome!
Shooting for 152F...

I hit 152f in 2 hours and 50 minutes.
This was not hard to do, but it took some planning and finesse. At about 2 hours, I notice the top getting darker than the sides and bottom, so I placed some tinfoil at the top draped over the back and breast. I held 225f for precisely 2 hours or so. I slowly cranked up the temp to almost 270f to crisp up the skin. Ok, so at what point did I decide to crank up the temp? This is the finesse part. At approximately 142f (internal temp) degrees, I started to adjust vents to increase the temp of the smoker.
So let's talk for a moment how I pulled this off. If you follow my guidelines prior to the finish, you should have something perfect. My finish meaning my choice for a sear is wrapped up in my experience. You might choose a different finish so your results may not be the same.
Review- Absolutely perfect in every way. The meat was moist, tender, and the skin was crispy. The fat layer underneath nicely melted away and resulting in crisp skin. Was it a lot of work? Yes, one could say that. Was it worth doing? Of course, it was. Thinking outside the box and hitting a grand slam is very rewarding.
Note: As an afterthought, it became clear to me that is was more of a demonstration than a Tutorial. It might be semantics, but I wish I had a video to show you specifics. I am hoping that I gave enough info for you to replicate. The Sous-Vide-Process of a Whole Turkey is not for the faint of heart. If placing a whole turkey down on the table is essential to you as well as aesthetics, then this post will certainly help. Please tag me or contact me if you have any questions.


TOP OF THE TURKEY......


Thanks for sharing such an informative blog. I have found quite a few things that will be very useful for us. Your recipe for free range whole turkey is incredible. Keep it up!
ReplyDelete