Sous-Vide Chicken Shank & Veggies
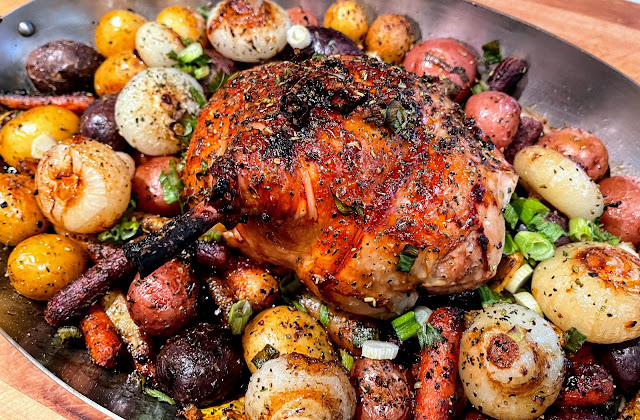
The portion size is considerable, but this is also dependent on the size of the chicken. My version incorporates Leg, Thigh, Breast, and Drumette. I saw a version (Food Paradise TV show) that only used the Leg and Thigh, but I thought it too small. To reduce the size, you have few options—1-choose smaller chickens (averaged weight 4.5lbs), 2- Remove Tenderloin and Drumette, or 3- Don't use Breast. If you decide to only use the leg and thigh, it's a much easier dish to assemble.
No special equipment is necessary to make this fantastic dish. All you need is a sharp knife, Vac Sealer (any type), and twine. And if you must, you can roast too vs. Sous-Vide.
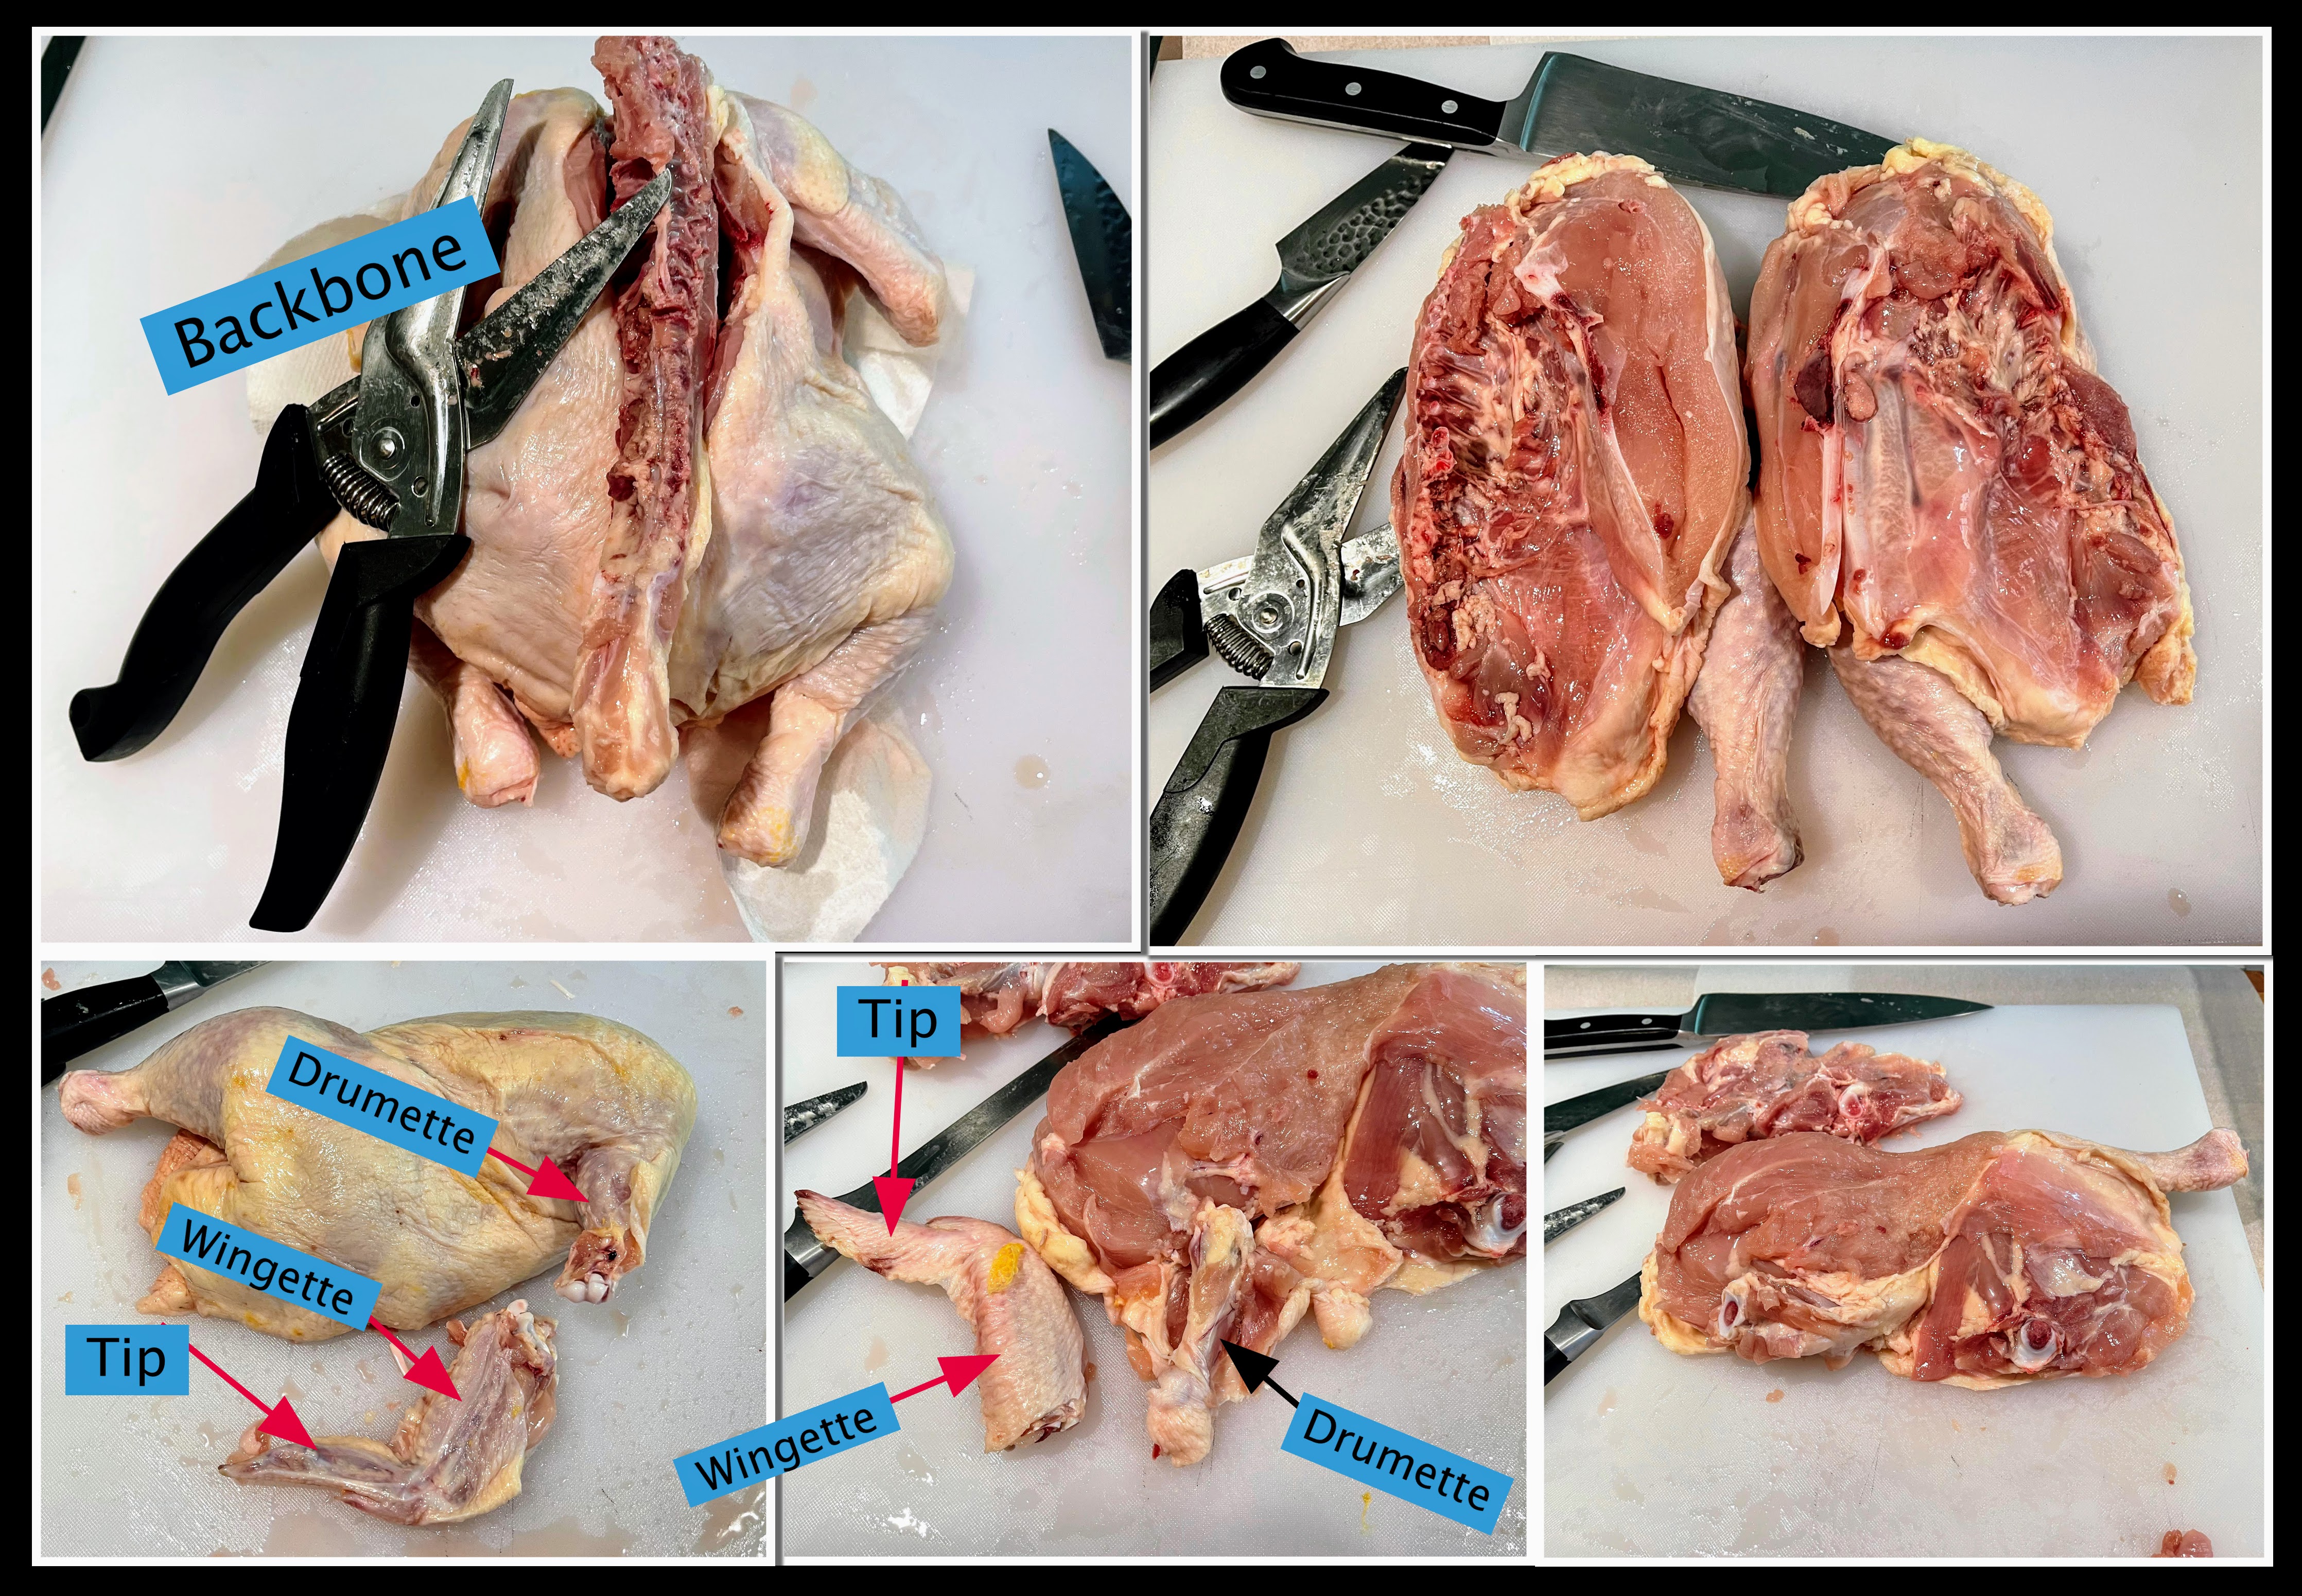
It all starts out with a Whole Chicken! Next, remove innards, split down the chest bone than the backbone. Alternatively, you can cut out the backbone with poultry scissors. See pic below...
Heavy Duty Foil is used to avoid the tearing of the Vacuum Bag. Foil is optional! I've done it both ways, and depending on the bones and how they are cut it may be an issue.
Optional Geeky Stuff: Set up your cooking vessel. I use a moderately large container (49-Liters 18" x 26" x 9") because of the overall Thermal Mass. Thermal Mass includes Water and Protein. If you overload your vessel, the water circulation will be reduced and will increase the cooking time. I've run some tests, and yes, the Thermal Mass will affect your cooking time. The thickness of the protein is not the only variable when deciding how long to process. This little tidbit of knowledge is more for the Science Geeks. As long as there is proper circulation around the proteins, this is principally a nonissue. Over the last few years, I've seen overloaded containers, which posed a safety issue IMO. Depending on the Thermal Mass of the proteins, I may start with a higher temp. In this case, I am adding 10 lbs of Chicken that are tightly wrapped. My cooking temp is 152f, but I added them to water preheated to 157f to account for temp drop and recovery. After the proteins were added to the vessel, I waited Five-Minutes then adjusted the Immersion Circulator to 152f. I also used the Hydropro-plus to monitor the temperatures. Below are the logs. On all subsequent cooks, the monitoring of the temps is unnecessary because I've done this many times before, and I dialed in exactly what I wanted.
I decided on a Balsamic Vinegar Reduction with sugar and butter as a coating. Alternatively, you can use Nonna glaze. I've done it both ways, and both come out great. I love Nonna's glaze. If you decide to make your own, it super simple. Place vinegar in the saucepan and reduce, add some sugar, spices, and finish with butter—coat chicken with the glaze, spices, herbs, etc., and place in roasting pan.
What veggies or sides to dish to make? I used Multicolored New Potatoes, Multicolored Carrots, Green, and Cipollini Onions.
Boil potatoes until fork tender in Salted water with about a tsp of Baking Soda (Why HERE). Also, boil Carrots for about 3-4 minutes. Strain and set everything aside when done.
To remove the skin (outer layer) from Copollini, use a sharp knife to slice the root end off of each onion. Now boil for 3-4 minutes, and the skin will pop off easily.
Why do you need to cook the veggies first? The browning of the Chicken happens fast, and the time to roast all the veggies would require a significant amount of time. The goal with the Chicken is the Maillard Reaction, and it only takes about 8-12 minutes.
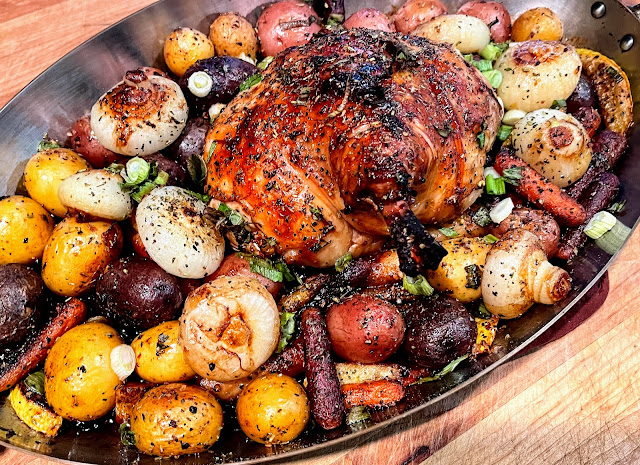
Now in a large skillet, brown Potatoes, Carrots, Onions with butter, and the balsamic glaze.


Comments
Post a Comment