In early 2017 Starbucks launched
these charming little globules we all know as Egg-Bites, and in late 2019 they were discontinued. I can only assume they abandoned the Egg Bites in the wake of the competition and copycats. Costco started selling them for a significantly discounted price. The Starbucks version cost $4.45 plus a tip to the server, and the Costco version came in at $2.50.
I tried them once or twice, and I thought they were pretty damn good but believed the serving size was way too small, not to mention the price tag too. Even if I bought them at Costco, I would need to eat at least 4 of them to become satiated. Over the next few years, I started making them occasionally and decided it about time I scribbled out a post. My recipe is nothing you have not seen on the web. Essentially this recipe is a copy of a copy cat with a tweak or two a few opinions.

Before I begin, I wanted to address the cooking vessels. I've tried them all!!! These are just a few I have tried. The instant pots one did not work for me because they did not float in the water, and they were too small. Ramekins are ok but sealing the tops to prevent water leaking in becomes a pain, but they are fantastic to serve in!! The plastic ones would not sink, so they sucked. Anyhow, I love the wide-mouth Mason Jars. My preference is the smooth sides because dislodging them is super easy. The added benefit is the extended refrigerated shelf life which occurs because the Jars become airtight and pasteurized.
My Basic Recipe is very simple and, again, is nothing more than a copycat of a copycat. I need to give credit where credit is due.
I've been asked many times why my version is so high in calories? Duh!! Nothing I use is low fat or no fat. Starbucks versions use non-fat milk and egg whites in a few of their recipes. I also use 8oz or 10oz Mason Jars, which adds to the volume. After you way out all your ingredients, you need to divide them among your jars. I.e., This Basic Recipe gives me 160g for each 8 oz jar. If I am in the mood, I will use the 10 oz jars and go as high as maybe 190g, if not more.
Note: Using Cottage Cheese makes the Egg-bite very light and airy. If you want to use Ricotta, Cheese is also amazing. When used, I prefer 13% Cottage Cheese to 12% Ricotta Cheese. See below for details.
This recipe uses ratios for easy replication. I use 50% Eggs, 25% Cream, 25% Cottage Cheese, —1% Salt, and 0.6% Ground Pepper based on Egg Weight. No matter how many eggs you use, replication is easy if you stick to the formula. Let say you use 15 eggs (whatever size you want), and they weighed in at 800g; you would use 400g of Cream and Cottage Cheese. And using 1% of salt at 800g is 8g, and 0.6% of Pepper s 4.8g. Toss everything in a blender and mix it up—Divide amongst the jars.
I will add bacon, sausage, or anything else I think might go well to the jars. Veggies are awesome too!!! I love kale, spinach, onions, broccoli, peppers, etc. Let's discuss cheeses!! Other cheeses can make the Egg Bites a little dense, but that's ok if that's your preference. Option- Reduce your cream and cheese by about 10% and add a different cheese. It might look like this- 15% Cream, 15% Cottage Cheese, 20% another cheese. Or, if you want to avoid the math, just toss some other cheese into the jar and give it a mix.
These are the 8 oz ones!! I prefer to use Olive oil and a pastry brush to coat the inside. You can also use cooking spray or butter.
If you choose to use Bacon, make sure it is extra crispy. The custard base will soften it up during processing, and no one likes soft rubbery bacon. I prefer to use Turkey Bacon. I also like sausage and other meats in my Egg-Bites.
After you fill the jars up with the custard base, add your bacon, and stir it. As you can see, I added some green onions too. Place lid on fingertip tight. If the top is too tight, the jar will burst when processed.
Note: To avoid the possibility of jar cracking or exploding I suggest the following. Temper jars in a container with hot tap water then submerge in SV-Vessel.
Tightening lids- this is from Chef-Steps -Close jars until "fingertip tight" Place the lid on the jar. Twist the lid until “fingertip tight,” meaning just barely closed and still possible to open with your fingertips.
To close the jar's fingertip tight, place the lid on top of the jar, then twist the band to tighten using just your fingertips. When you begin to feel resistance, twist once in the opposite direction, then once more in the original direction to tighten.
Closing the jars until fingertip tight means that air will be able to escape from the jars when you submerge them in water. If you close them too tightly, the trapped air will press against the glass and could crack or break your jars.
Deciding on what temp and time to use was no easy task. Different vessels and quantities require specific times. I have tried many different temperatures too. I ended up settling in on 170℉ and precisely 53-55 minutes for these particular jars and amounts. These mason jars are 8 oz, and I fill them with 160-165g of the egg base, and it gives enough room at the top for some extras like bacon, cheese, etc.
I arrived at this temperature with the help of Peter. I am a huge fan. Select image to enlarge. His Website can be found HERE. I found this in the food group on Facebook, which I admin called Cook with Joule. Please do yourself a favor and check out his Website.
Note: If you want a smoother texture and much silkier custard degas in a Chamber Vacuum. Place custard in an open container and process for about 10-15 secs. If you don't have one place it in the refrigerator for a few hours or overnight.
Seal them up and process at 170f for 53-Minutes. Remember, this time works for the 8-oz Mason Jars. For a 4-oz, you may only need 35-37-Minutes.
When they are all done, place them on the counter for about 15-Minutes then place them in a large ice bath. I use a $16 aquarium pump to circulate water, which improves cooling by 30-35%; after about 2-Hours of cooling, place them in the refrigerator. These egg bites have the base plus- Sausages, a mixture of onions, green onions, sundried tomatoes, and Mushrooms. Several different kinds of cheese were added to each jar.
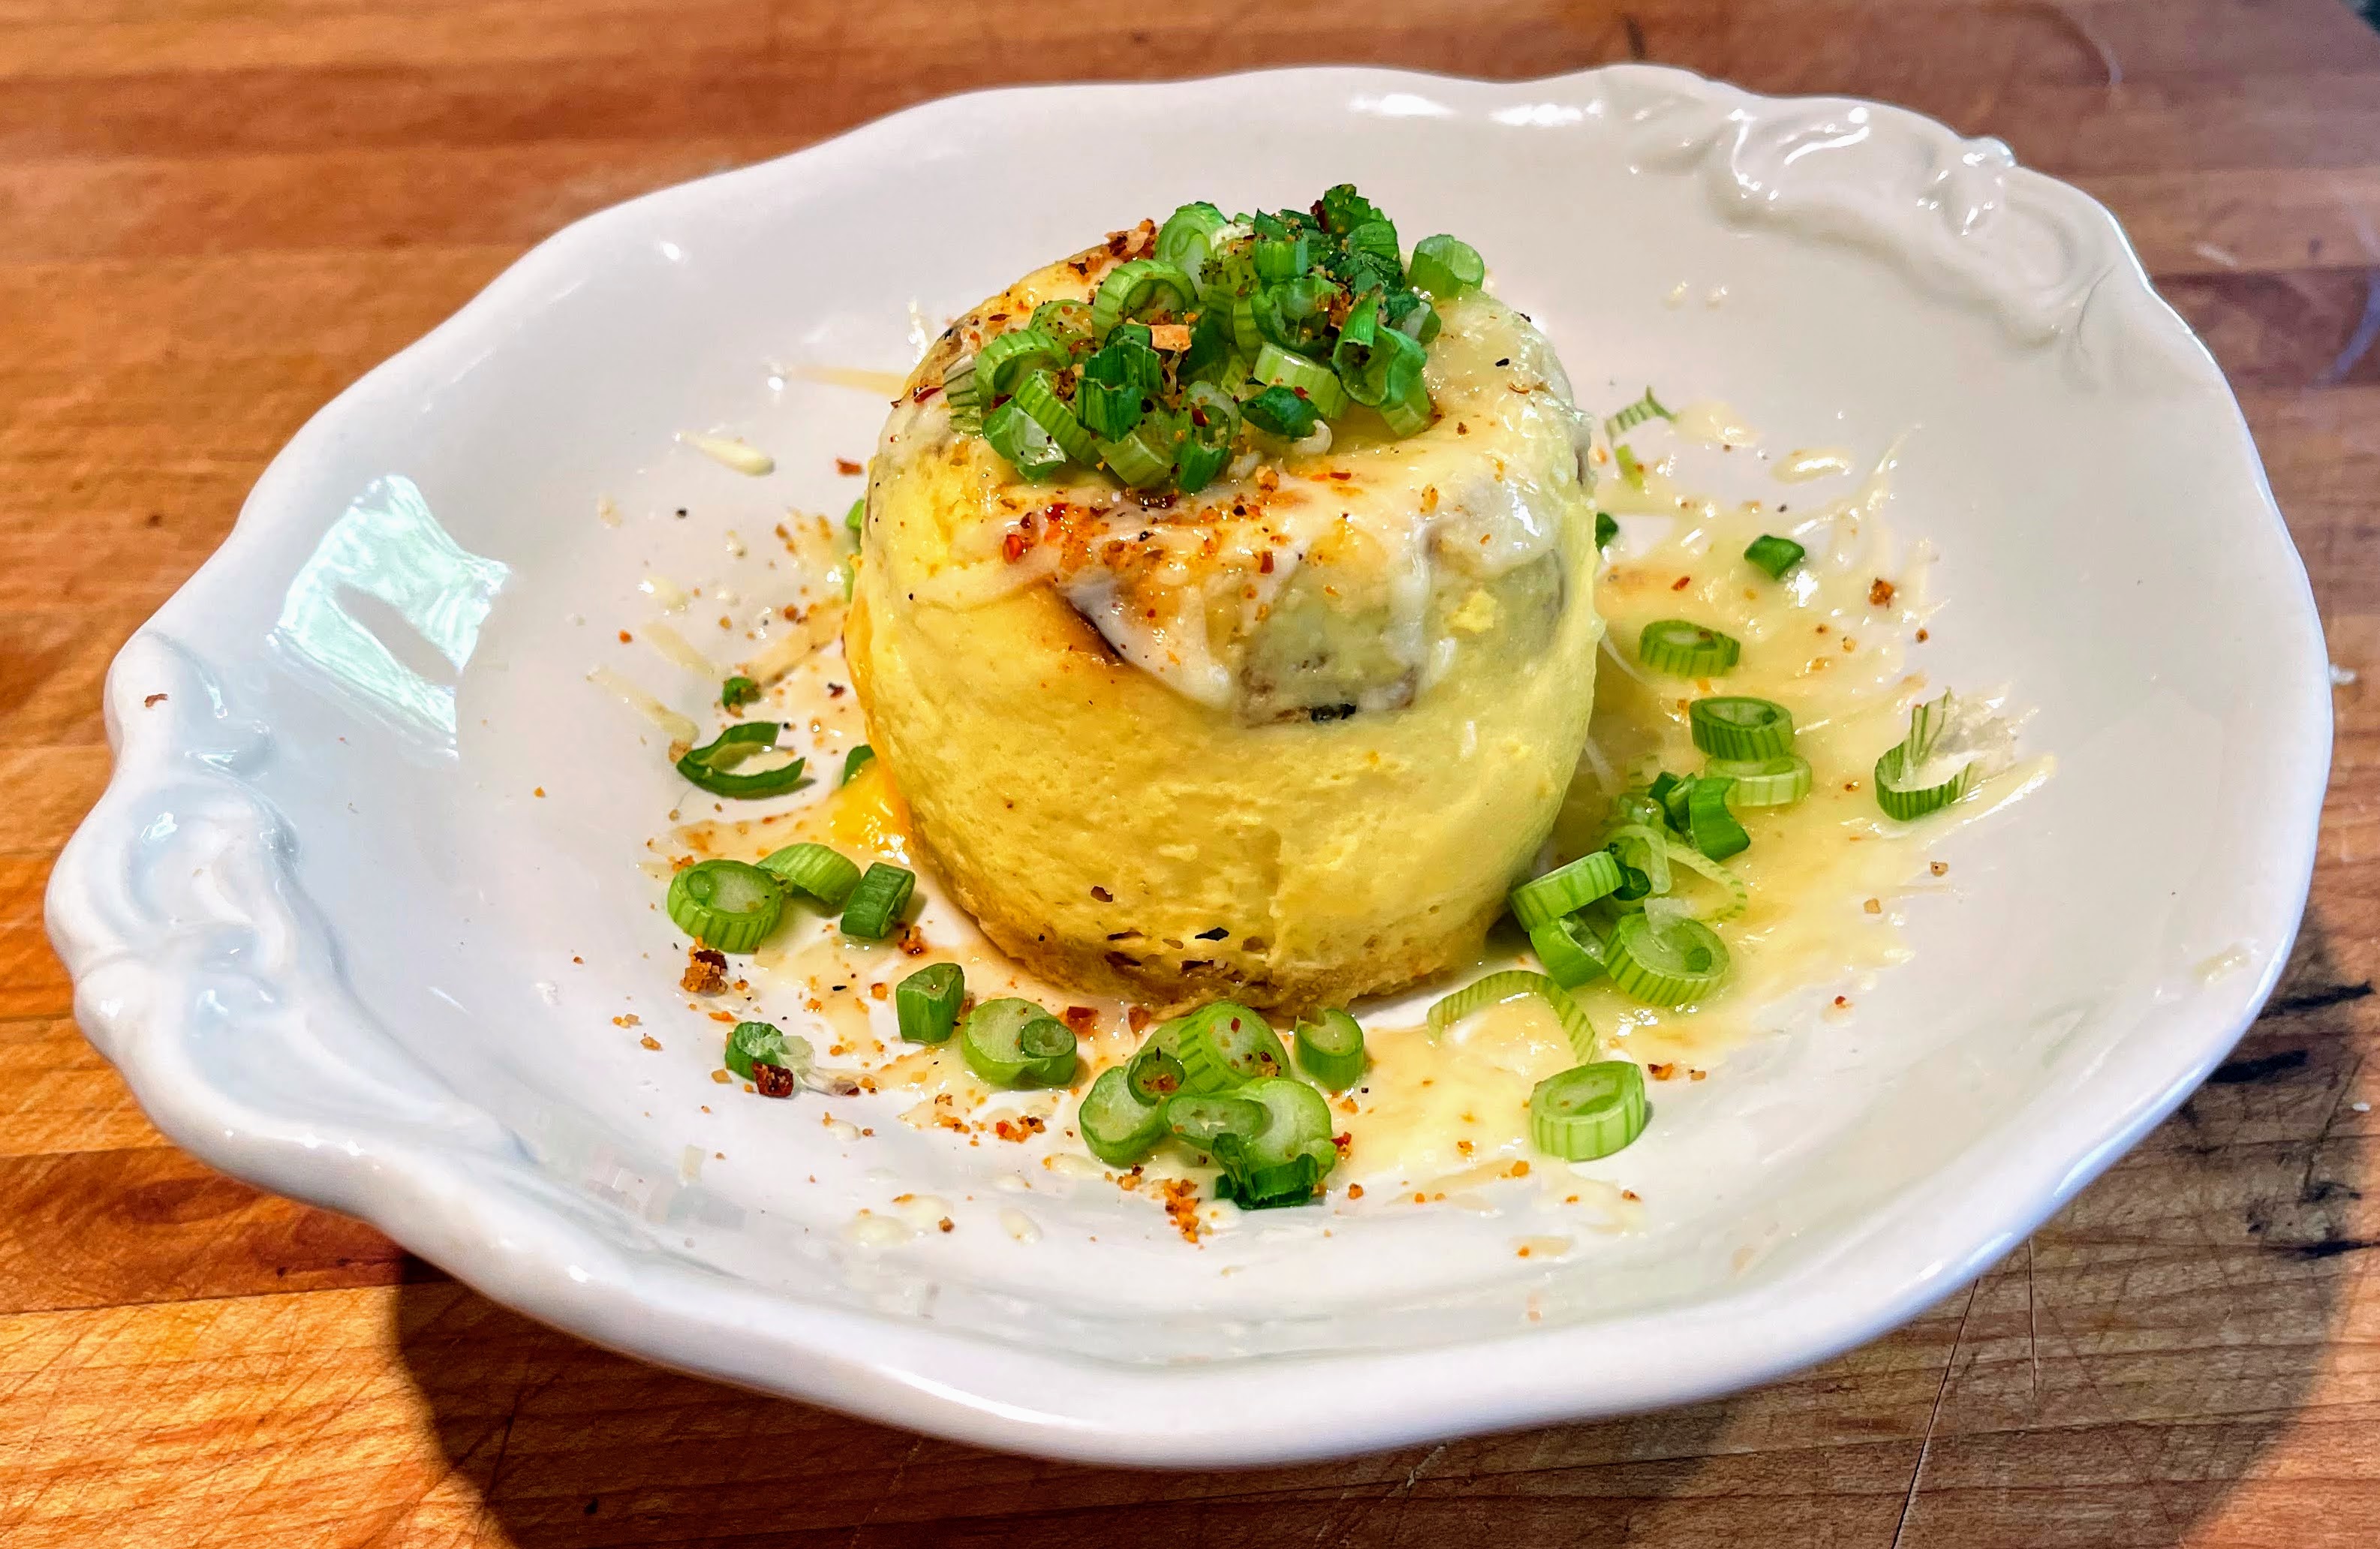
Serving- Run the jars under the hottest tap water you have first. This will loosen them up a bit. Remove lid and place in microwave for 35-Secs, rest one minute, then repeat. Using a tiny rubber spatula to dislodge is necessary to plate and make it look fancy. And if you are not taking any pics, eat from the jar.
Depending on my mood, I might fry up some Kale, spinach, or both. Top with more cheese or whatever suits your taste that day. Go crazy!!! To melt cheese, toss in the oven or microwave again.


Comments
Post a Comment